Tips and Tricks for Creating Animated Characters with Biped in 3ds Max
Room 8 Studio loves working with brands, especially those based on Hollywood IP, to create high-end artworks for the partners! We accumulated substantial experience over the past seven years! Today we are sharing some tips and tricks on how we created animated characters for Kung Fu Factory – the developer of Hotel Transylvania: Monsters! Mobile game. We made over 50 characters utilizing the 3ds Max Biped rig.
Biped is Biped
To start with, Biped is not dead… yet! And, when starting to experience the 3ds Max biped rig for the first time, the most common mistake is to compare it to Maya rigs. Please, don’t do it, because we did. To create zingy stylized animations with Biped, you need to approach and excel in it with a mindset that is entirely free from Maya rigs and tools.
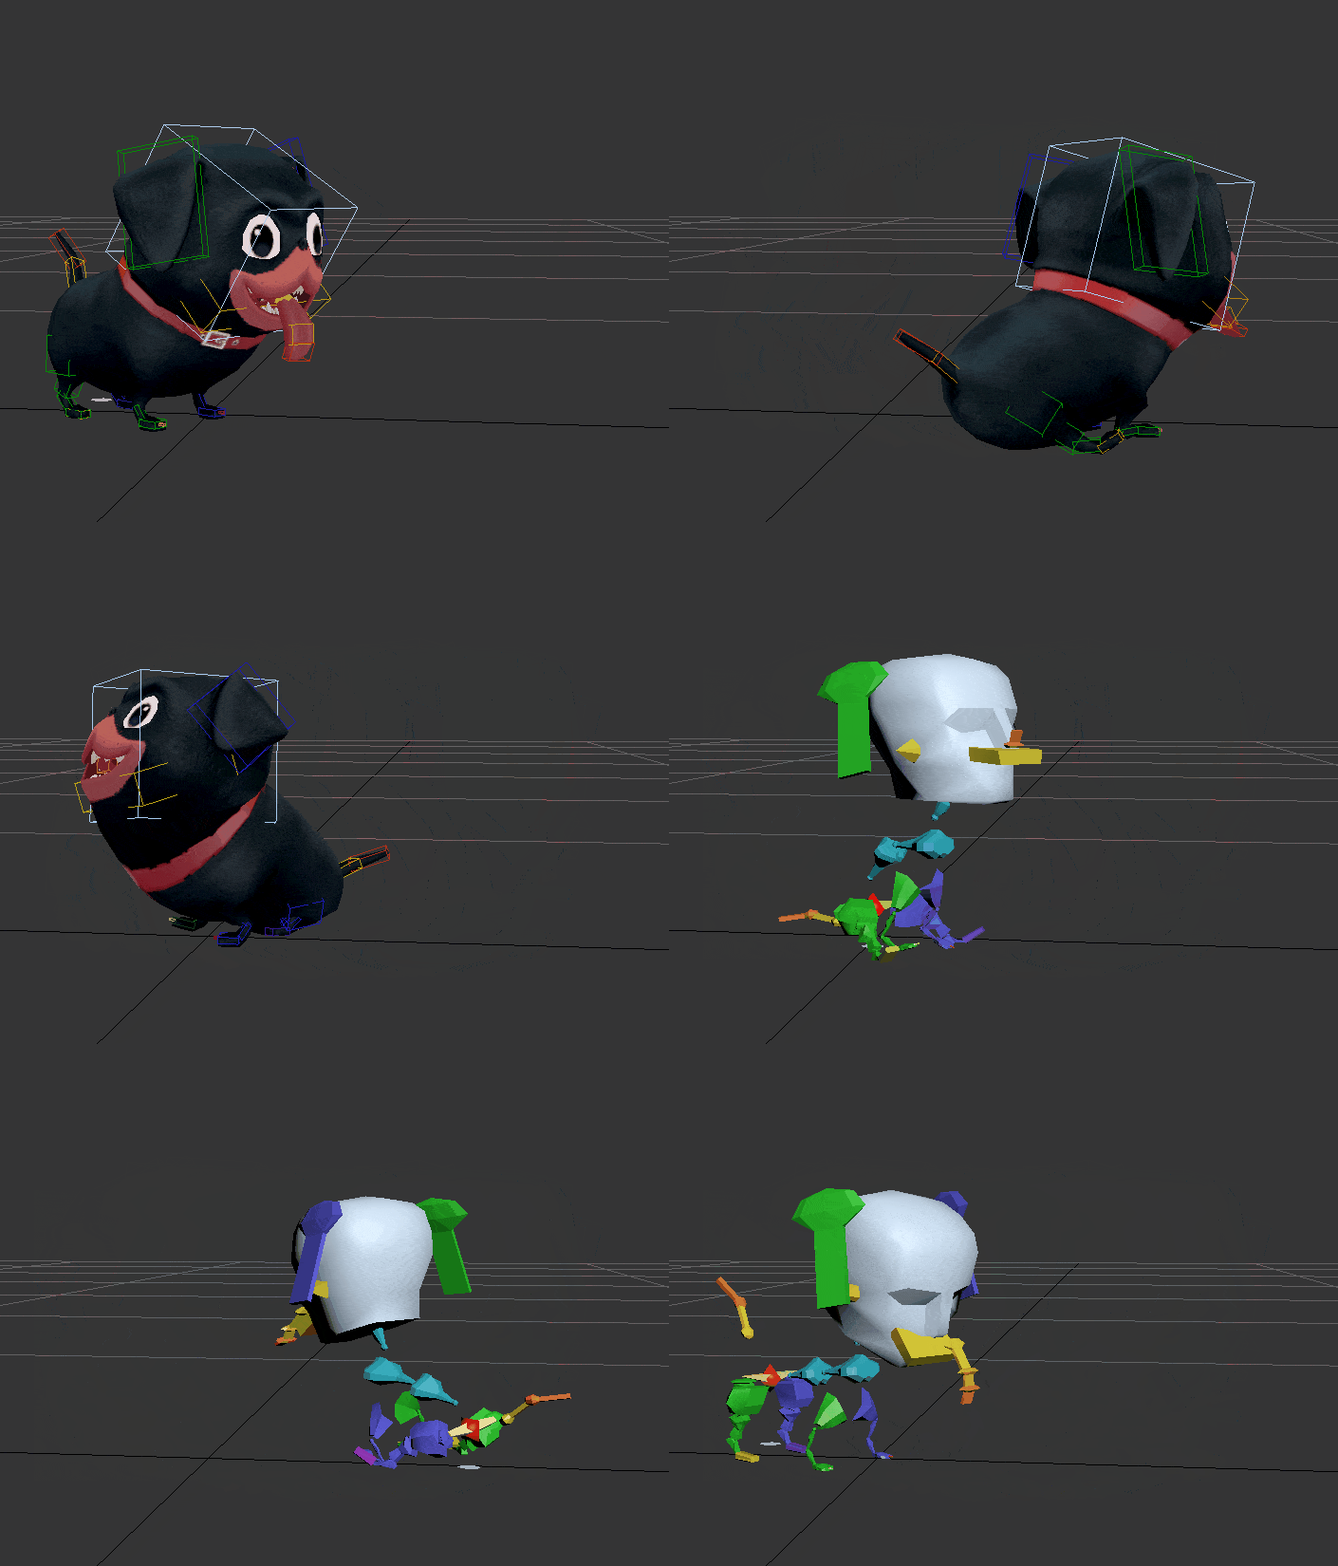
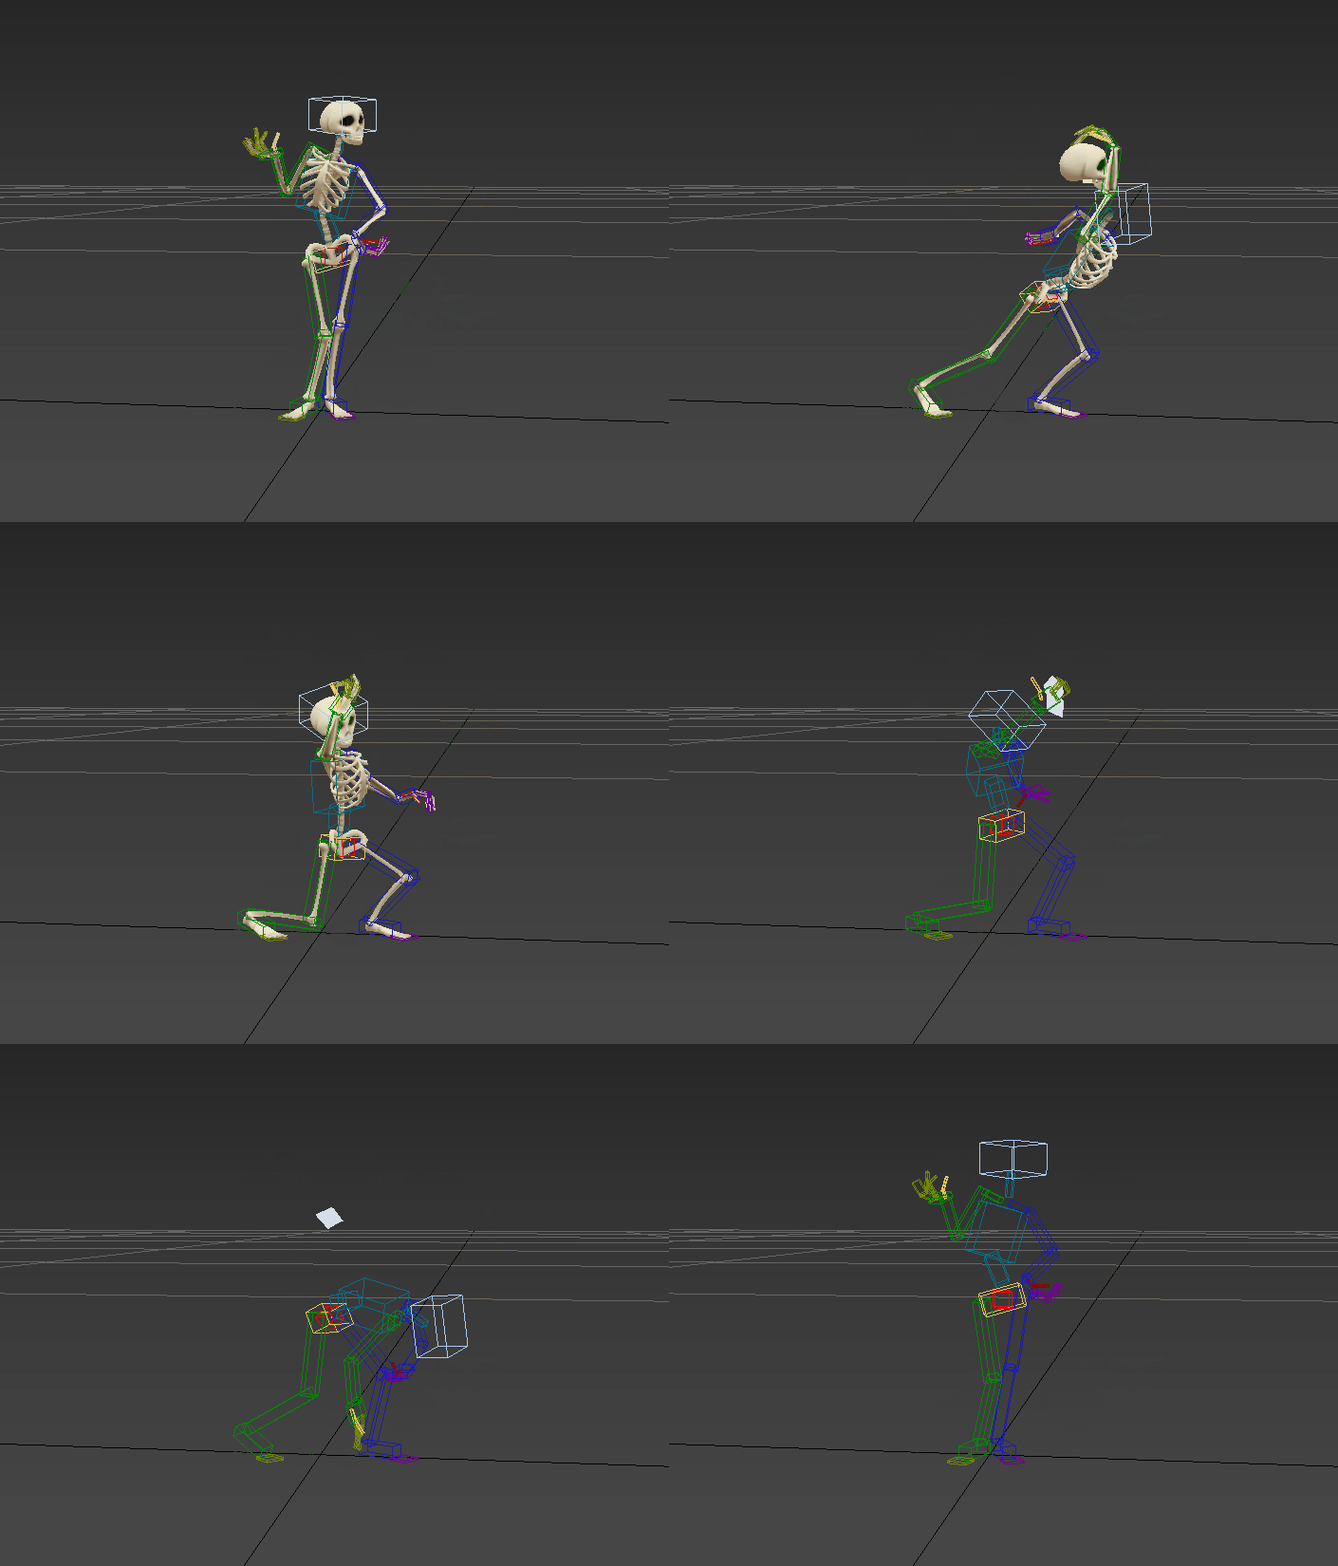
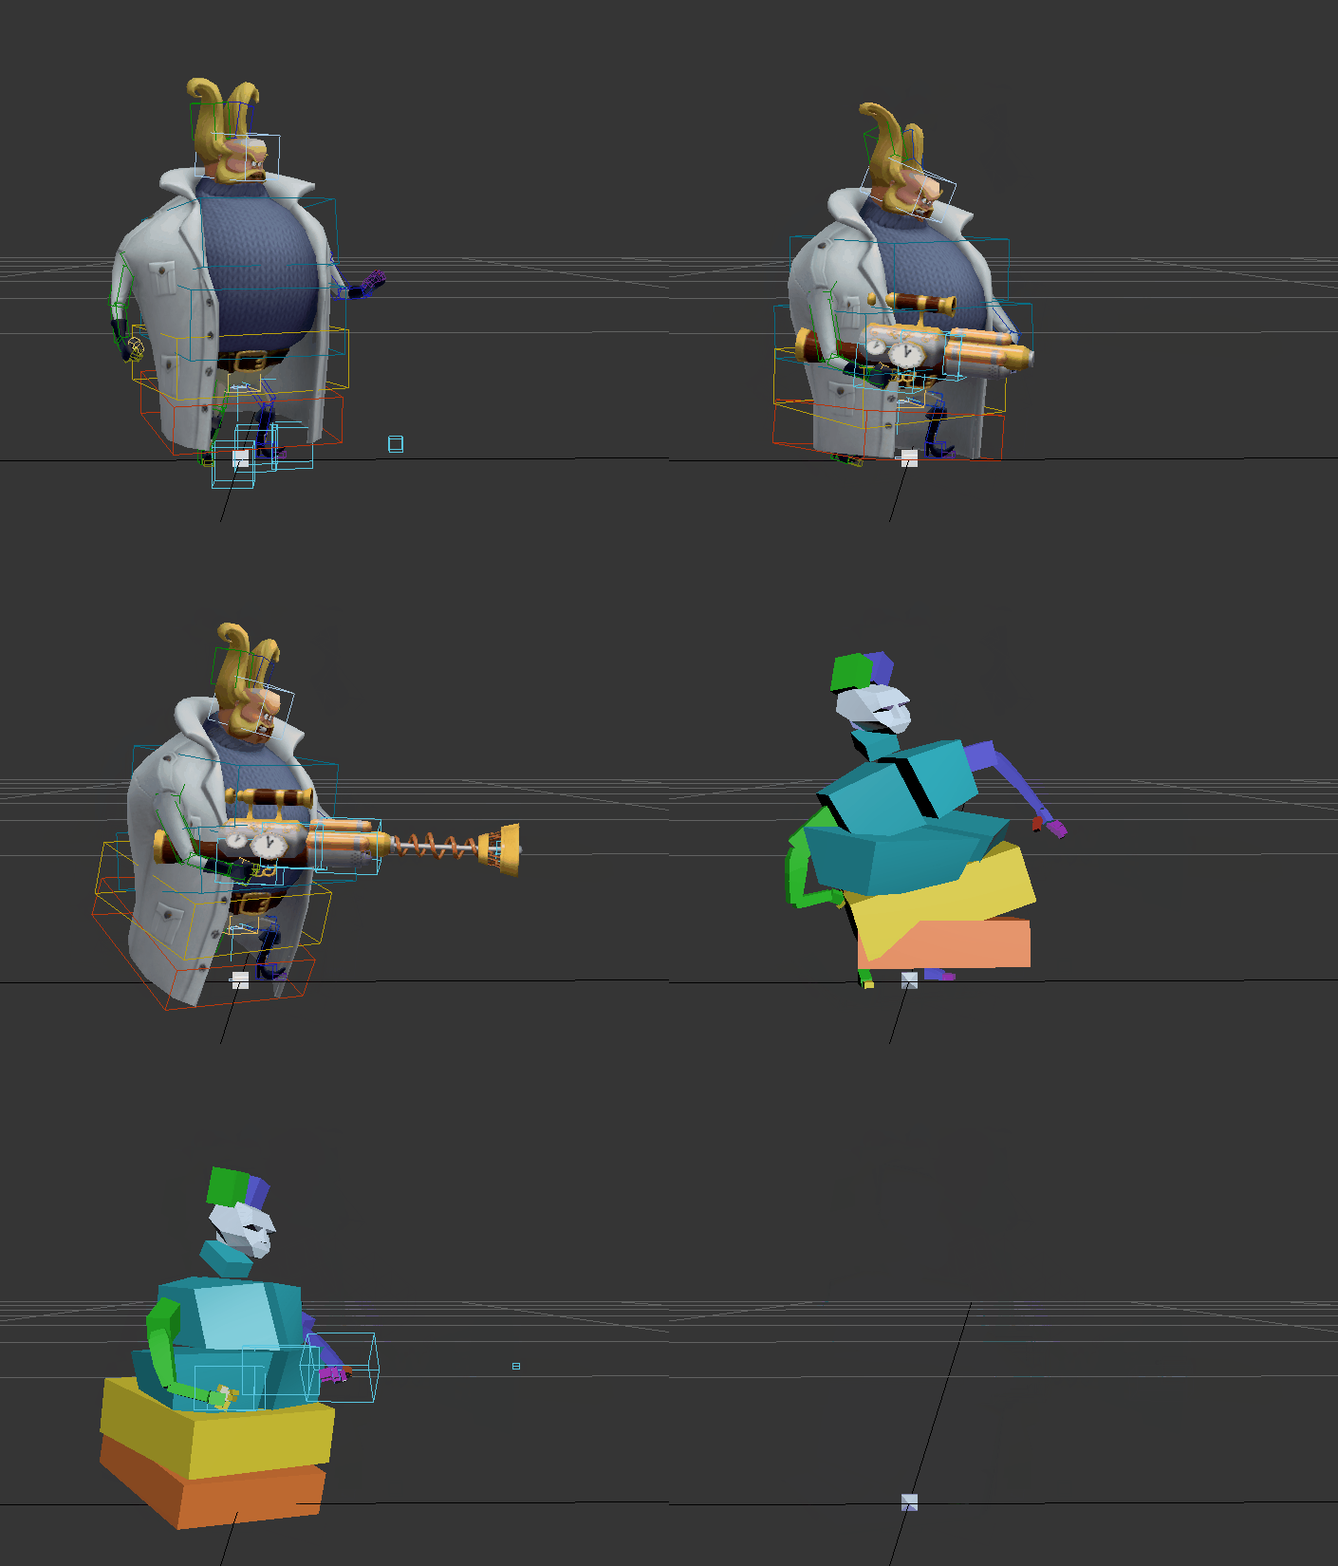
Biped rig was developed in 1995 as a plug-in for 3ds Max. Since then, its functionality didn’t face significant changes making it a pretty reluctant software to work with for modern animators. But, 3ds max biped game character modeling and rigging solution is still alive in pipelines of such large and world-known projects, e.g., Assassin’s Creed series. After all, great animation is not about animators’ tools to create it. Once you break through your “mental barrier” to do character rigging with 3ds Max and Biped and study all the possible pitfalls of this rig, you will have the power to create nice animations like the ones below. So, here are our tips and tricks on how to rig a character in 3ds Max Biped that can be useful for you.

Get Used to TCB Rotation
Biped uses Quaternion rotation to control animation in the Curve Editor by default. The approach to animation is entirely different from the Euler rotation used in Maya by default.
However, TCB controllers do not use tangent types or adjustable tangent handles. It uses fields to adjust the Tension, Continuity, and Bias settings. So, using TCB, you won’t be able to change the tangents of your keys to control function curve shape, which makes a lot of animators who thrive in the Graph Editor anxious. Of course, Biped kindly offers the option to switch to Euler interpolation. And, most professionals turn it on immediately; that is not the best idea. Switching to Euler will cause particular problems when saving or loading the animation, e.g., tangents resetting to default. Our advice is to get used and stick to Quaternion because Biped was initially built on it and functions more correctly with it.

Since Biped doesn’t provide an option to separate rotation and translation keys, there is no point in using active tangents because it will lead to a mess in Curve Editor. Commonly, TCB interpolates curves smoothly and doesn’t create Gimbal Lock in places like shoulders and wrists. For linear motion, you need to crank the Tension attribute of two consecutive keys up to 50, which results in linear curve interpolation. This lifehack is all you need to make your curves not go crazy.
Do Not Separate FK Tracks
Leave “separate tracks” default settings; there’s no point in adjusting it. With it off, the entire system “arm” or “leg” is treated as one key. When you need to move the forearm, it will run the bicep automatically unless you turn the “separate keys” on again. It is very tempting to turn it on, BUT you will face some issues when it is activated. For example, when you need to copy or move several keys, it will copy or move all at once, not just selected “separate keys” for the rest of the arm or hand but all of the keys in the animation for that system. Also, “separate tracks” turned on might ultimately break the IK system of a limb.
But then, when you have one key for the entire limb, you are forced to plan your poses better, as you cannot offset keys down one FK chain. It is just another approach to animation, don’t try to fight it out; accept it!

Biped Can Squash and Stretch
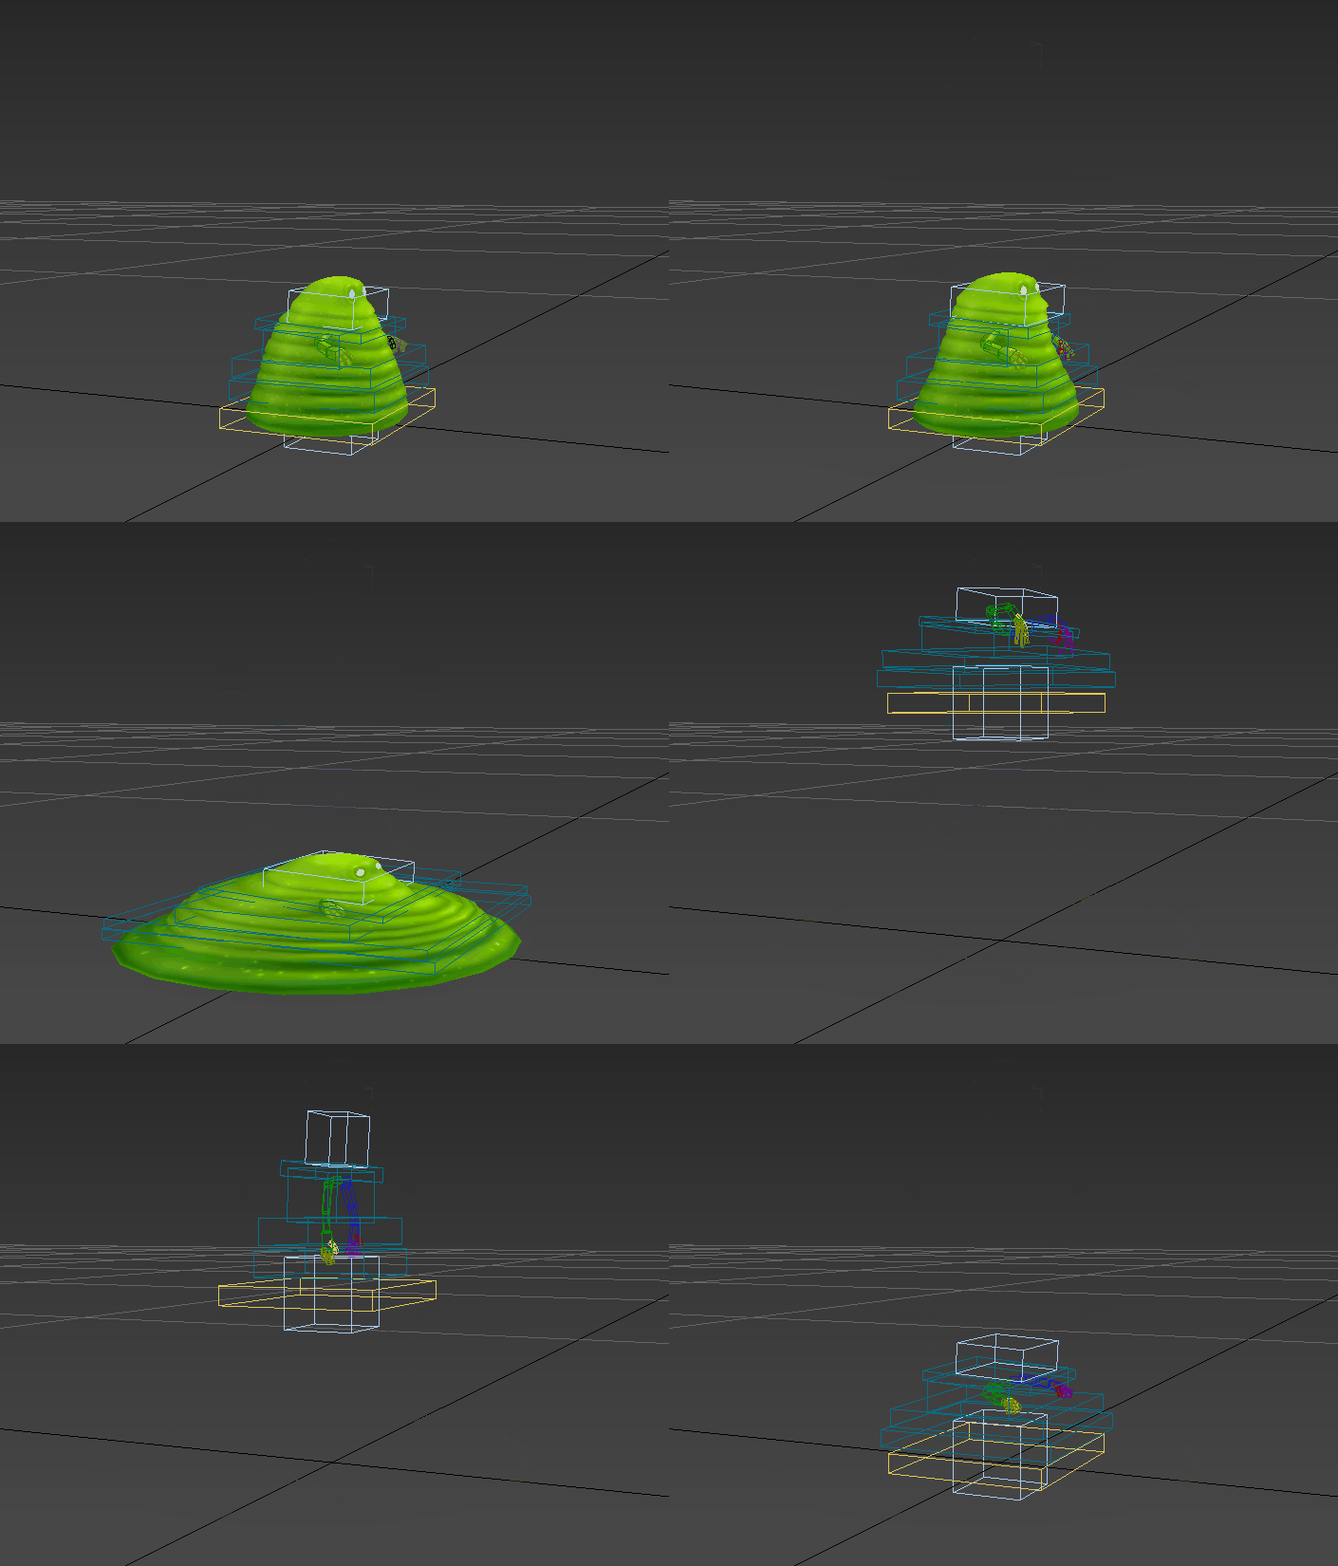
If you want to follow the 12 principles of animation, you will come to the point when you need to apply Squash and Stretch. It is possible in the character animation pipeline in 3ds max Biped. You have to assign a scale controller for each biped bone in Biped Subanim. To ensure consistency, you may want to use the TCB Scale controller, but in this case, the Scale XYZ controller works just fine, allowing to change tangents in scale curves. Ensure that “Enable Subanims” is toggled on in Keyframing Tools roll-up. You are free to select the Squash and Stretch tool to make your characters look alive.

Of course, everything is not that simple with Squash and Stretch scale controllers. There are some other pitfalls. First of all, do not apply a scale controller on pelvis bone because scaling pelvis bone inevitably affects thigh bones. At some point in animating, they might get stuck in a weird position and never return to their default state. There is a pretty simple way out. It is better to create one standard max bone instead of assigning a scale controller on the pelvis bone. Align and link it to the biped pelvis because it behaves almost like the pelvis bone – the bone that will be skinned to mesh instead of the biped pelvis bone. After doing so, you can scale the pelvis area with this bone, and it will not affect the legs.
It is always a unique experience to make animations in 3ds Max Biped, especially in a Cartoon Art Style. Once you stop protesting and accept all the pros and cons of Biped, you will enjoy creating animations with the help of this software!
Have a project in mind? Let’s bring your game to the top of the charts!


